I sought out wall paint ideas for touch up painting once my children grew old enough to be superheroes. If you weren’t previously aware, superheroes climb walls, throw grenades [toys] at bad guys [little brothers], and ram into anything surrounding access to the princess [mommy]. This results in substantial damages to the castle [home], resulting in a constant need for touch up painting and repair.

Touch Up Painting for Scuff Marks, Dings, and Dents
Yep…touch up painting for scuff marks, dings, and dents was once a tedious process…until I developed my own special way of doing it. Regardless, the first visible scuff mark or ding following a fresh new coat of wall paint inevitably squeezes a little whimper out of me. Oh, the pain! Amid this inward suffering, I see terrifying images of rusty paint cans, overloaded paint brushes, dripping stirring sticks, and dull spots from well-intentioned scrubbing efforts. Noooooo!
Touch up Painting for a Red / Blue Color Code Personality
Now allow me to introduce you to my mother, who is one of the hardest-working women I have ever known. She is also cursed with the dreaded red / blue color code personality. [You can get your own FREE color code personality analysis HERE]. Don’t get me wrong – red / blue people are lovely! But BEING a red / blue personality can be HARD, because the blue side of a red / blue personality consistently needs things to be “practically perfect in every way.”
“Practically Perfect in Every Way.” -Mary Poppins
Alternatively, the red side of a red / blue color code personality thrives on efficiency, i.e., getting things done NOW. This discrepancy often causes an internal tug-of-war, as both sides of a red / blue color code personality are constantly at odds with each other. “Get it done!” red demands. “And it must be absolutely perfect!” commands blue. In-and-of themselves, finding fast solutions OR completing tasks with tedious perfection presents unique challenges. But achieving both perfection AND efficiency simultaneously can either result in a serious case of OCD…or the potential to elevate production to a whole new level.
Mom, you’re a rock star!
This higher-level productivity describes my mom. When it comes to home projects, she allows her red color code personality to take precedence. A shortlist of her many talents includes drywall installation, wallpaper mounting, wood refinishing, application of wall paint, wall repair, wood floor installation, and caulking of all things in need of…caulking. True to form, all of her completed projects look absolutely perfect. Mom, you’re a Rockstar!
Touch Up Painting for a Blue / Red Color Code Personality
I, on the other hand, am a blue / red color code personality. Contrary to my dominant blue color code personality profile, when it comes to projects, I actually prioritize item completion (red) over overwhelming perfection (blue). The blue color code personality in me, however, still strives for excellence. It is the opposing priorities of our personalities that influence the way my mother and I handle similar challenges differently. For example, when either of us notices a scuff mark, dent, or ding in the wall, it pains us. Our wall paint ideas and solutions for the situation, however, are drastically different.
Mom: “Oh, dang! Now I have to paint the whole wall again!”
Me: “Um…why….? Just apply a little bit of touchup paint….”

My mother would argue that application of old paint over new leaves a discernible mark, and she’s mostly right. Sometimes old paint fades, or new paint appears more shiny than old. Considering human psychology, however, I figure a person is much more likely to notice scuff marks, dings and dents than they are to notice a slightly-imperfect dab of touch up painting.
Although our approaches to touch up painting are distinctive, neither my mother nor I are willing to paint an entire wall every time it experiences a minor fatality. However, my mom is more willing than I to allow an accumulation of scuff marks, dings and dents over the course of, say, ten years — and then spend tedious hours re-painting the entire wall again. #laboroflove In other words, she will have a beautiful, perfectly-painted wall once every ten years. I, on the other hand, do touch up painting on an as-needed basis. As a result, my walls have the appearance of a nearly-perfect paint job –most- of the time. And I like it that way.

Although I do enjoy a clean-looking wall, I do NOT enjoy opening old paint cans, cleaning paint brushes, or breaking out the entire paint supply arsenal for simple jobs. Alternatively — in order to avoid this messy endeavor — I developed an easy touch up painting process using [drum roll please!] canning jars.
A Paint Can to a Canning Jar is Like a Blender to a Magic Bullet
A paint can to a canning jar is like a Blender to a Magic Bullet. When it comes to preparing food, a large blender is great for large orders, but little jobs call for a Magic Bullet. Due to its compact size and design, the Magic Bullet is less awkward to set up and easier to clean…unless you count the time I accidentally turned my Magic Bullet blender into a chemistry blunder, exploding remnants of goo all over my kitchen. Having already spent hours cleaning splattered remains of chocolate off of my walls and cabinets, I used the following touch up painting remedy to cover the crusted-over spots I accidentally missed…years later.
Canning Jar Touchup Painting Loading Instructions
- Acquire leftover paint of choice, plastic spoon, a clean 16 oz canning jar, and a two-piece screw top lid to fit. The 16 oz Ball jar is my go-to-choice because it holds a decent amount of paint for touchup painting and is ALMOST large enough to hold a small plastic spoon.
- Place plastic spoon inside canning jar at an angle. Using a permanent marker, mark where the spoon and the lip of the canning jar meet.
- Using scissors, cut the handle of your plastic spoon at the mark. This can be a bit tricky, but these Cutco Super Shears of mine are beastly awesome (see short video demonstration below). After trimming, not only will your spoon fit into a closed jar, it will stick out over the paint so that you can grab the end without getting paint all over your fingers.
- Set spoon aside.
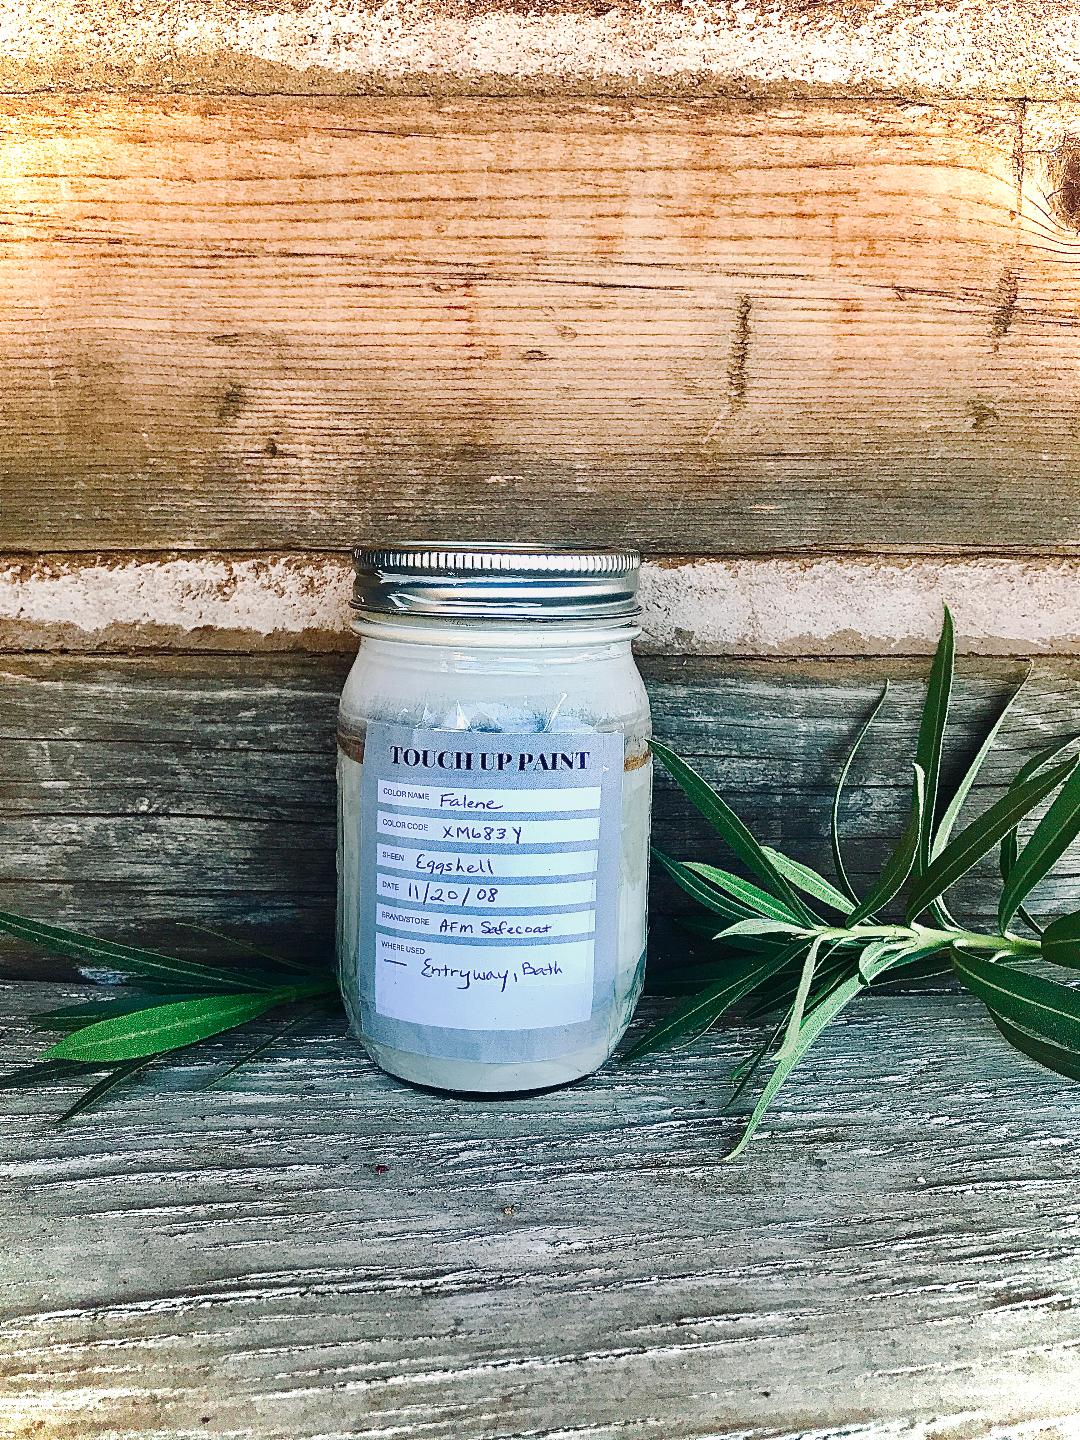
- Avoid future confusion and stress: Sign up for my email newsletter below and get a free printout of these awesome labels^^!! Simply fill out the label and apply to the side and/or top of your canning jar. It’s easy to forget what colors you’ve used where, whether your paint is eggshell or sheen, or the color code (should your project require more than a little touch up painting). Don’t try to use your memory; use the label!
- Mix your paint – of – choice in its original can with a regular stirring stick. OR if you want a Jennifer-style gym workout, just shake the can vigorously for a few minutes. Feel the burn!!
- Carefully pour paint from the “now-mixed” paint can into your canning jar, leaving at least 1” at the top.
- Place your cut plastic spoon into the canning jar. This will serve as a permanent stirring stick (Ta-da!) Try not to allow your canning jar to fall over – ever — even when closed. A faux pas of this magnitude will bury your lovely stirring stick in paint. #neverthesame
- Screw lid onto canning jar and make sure it is closed snugly. Using a two-piece metal lid is a must! These lids create a better seal than plastic lids, maintaining the integrity of your paint and minimizing potential paint-escapes.

- Store your canning jar in a cool, secure location as far away from the reach of little hands as possible. Leftover paint can last for years when stored properly.
- Please use caution when handling and storing these potentially-damaging weapons. Accidentally dropping or breaking your paint-filled glass canning jar at this point would be rather…horrific. I personally protect my jars in a closed, plastic container, stored safely on an upper shelf in my laundry room. If you feel a padlock is necessary to protect your paint…invest in one! Do ANYTHING to protect your paint-filled glass canning jars from imminent doom should they fall prey to an earthquake, adult-onset clumsiness, or to not-so-helpful handlers [children].
If you want a Jennifer-style gym workout, just shake your full paint can vigorously for a few minutes. Feel the burn!!

Canning Jar Touch Up Painting Instructions
- Open canning jar carefully while it is standing upright. Don’t tilt the jar while trying to get it open!
- Carefully stir paint with the plastic spoon until fully mixed, taking care not to get paint on the upper handle of the spoon. Leave the spoon in the canning jar.
- You may want to use drywall putty / spackling to fill any dings or dents in your walls and allow the spackling to dry before applying paint.
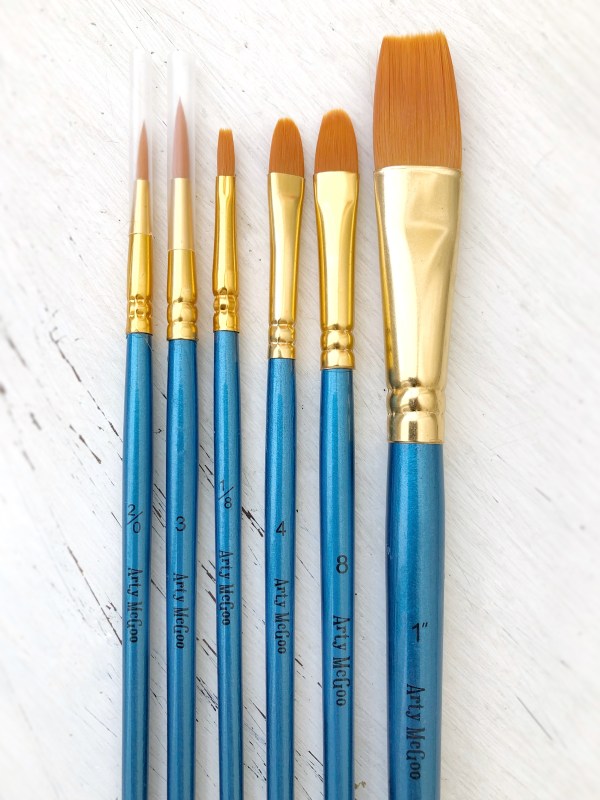
- Use a small paintbrush to paint over scuff marks, dings, or dents in need of touchup painting. I love these teal Painty McGoo brushes (so cute!)
- Put the lid back on your canning jar as soon as possible. Dry paint-in-a-jar is no-bueno.
- Wash your paintbrush thoroughly, then set out to dry.
- Repeat step #10 from Canning Jar Touchup Painting Loading Instructions
- Repeat step #11 from Canning JarTouchup Painting Loading Instructions
But what does touch up painting have to do with overcoming depression?
It goes without saying that accumulated scuffs, dings, and dirt will accumulate in a home that is neglected. “Just as you have finished raking the leaves, more are sure to fall. It is the same with your mind. Right when you think you have cleaned out all the cobwebs, more big to form…Why not [touch up paint] the walls of your home as if you were polishing a mirror that will reflect your soul?” -Shoukei Matsumoto
Legal Disclaimer: The author of imaqurius.com is not an attorney, medical professional, psychologist, psychiatrist, therapist, nutritionist, or dietitian. All social media, emails, podcasts, videos, live streams, text, dosages, outcomes, charts, graphics, photographs, images, advice, messages, forum postings, and any other material or publications on or associated with imaquarius.com is for informational purposes only. It is not intended to substitute for legal advice, nor for medical treatment, nor for diagnosis including (but not limited to) treating, curing, mitigating, or preventing any type of disease, medical condition, or emotional/psychological condition.
Before beginning any type of natural, integrative, or conventional idea, process, treatment, or regimen, it is advisable to seek the advice of a licensed healthcare professional. No guarantees or warranties are expressed or implied. Any reliance on or application of any information or material provided by imaquarius.com or persons appearing on the Site at imaquarius.com is at the reader’s discretion and is his or her sole responsibility.